
Difficulty : Very Easy
Ever wondered of shrinking your Arduino control system into minuscule scale? Arduino Pro Mini is introduced to serve this purpose, it can fit into anywhere in your project area where you want to hide it from sight, but it has no built-in serial interface chip like normal Arduino boards do.
This tutorial will guide you how to program Arduino Pro Mini board with a cheap CH340 USB-to-TTL serial interface module. Make sure the I/O pins of Arduino Pro Mini board are soldered with male header pins provided before proceeding.
Software Required
Component Required
- Arduino Pro Mini 5V 16MHz
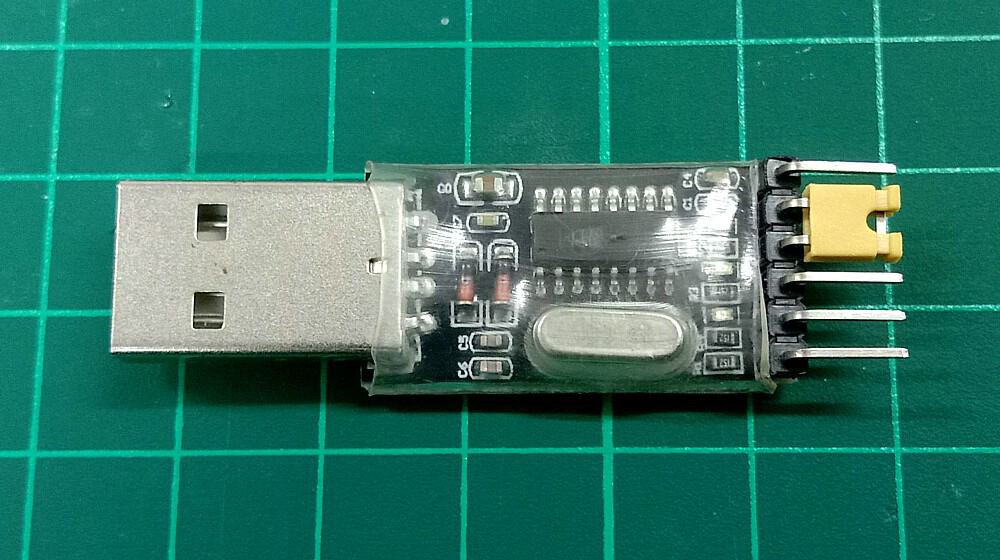
- CH340G USB-TTL Serial Interface Module
- Female-to-female jumper wires x 4
- Mini Breadboard (optional)
- USB Type-A Data Extension Cable (editor’s optional)
 |
 |
 |
| Arduino Pro Mini 5V 16MHz (soldered) | CH340 USB-to-TTL serial interface module | Mini breadboard SYB-170 (optional) |

Arduino Pro Mini stacked on mini breadboard so it doesn’t move easily & scratch any surfaces
Wiring Chart
| CH340 Module | Arduino Pro Mini |
| 5V | VCC |
| TXD | RX1 |
| RXD | TX0 |
| GND | GND |

Wiring diagram drawn using KiCad 4.0.7
Instructions
1. Connect the wires between CH340 module and Arduino Pro Mini as shown.

CH340 serial module is connected to Arduino Pro Mini and computer
2. Make sure VCC pin on CH340 module is tied to 3v3 pin beside it. (this is connected by default)
3. Connect CH340 module to your computer.
4. If you are using Windows OS, make sure that your computer has CH340 driver installed, available at Start Menu > search “device manager” > Device Manager > Ports (COM & LPT).

If not, you may manually install the CH340 driver by clicking here
5. Open Arduino IDE in your computer, open an example code at File > Examples > 01.Basics > Blink.

Or you may type the code below into your Arduino IDE sketch area.
6. Before you upload the test program, make sure your Arduino IDE is configured to program the board, at Tools > Board > Arduino Pro or Pro Mini
7. Make sure the COM port in Arduino IDE is selected, at Tools > Port > COMx.

You can check if this COM number is same as shown in the Port section of Device Manager.
8. After all the configuration steps, you may upload the Blink program into your Arduino Pro Mini board as a test program by clicking Upload button.
9. During the upload process, press and hold the Reset button on Arduino Pro Mini, then release it immediately once you see the Arduino IDE passed the compilation process as shown below (full green progress bar and 2 lines of white colored feedback messages).

You’ll notice the LEDs on CH340 module will start flashing for a while, this is indicating the CH340 is uploading program to Arduino Pro Mini. The built-in LED on Arduino Pro Mini board should start blinking by now.
10. Congratulations, you have successfully programmed the Arduino Pro Mini !
Extra Notes
- You need to press and hold Reset button on Arduino Pro Mini board during programming because CH340 module does not have DTR output pin. If you use other serial interface module together with DTR pin, you may not need to perform this step (9).
- Author : Henry Chau
- Date created : 12 October 2019
